😊
How to Add Emojis to Photos: Complete Guide
Add expressive emojis to your photos. Perfect for social media and creative projects.
Transform your photos instantly with AI-powered automatic enhancement.
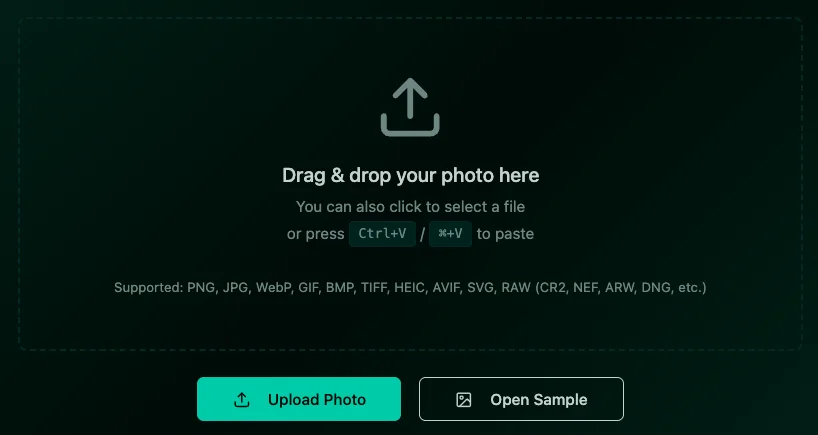
Click the Upload Photo button in the editor or drag and drop your image directly into the editor window. Supported formats include JPG, PNG, WebP, and more. Visit the editor to get started.
Auto Enhance is an AI-powered automatic photo enhancement tool that intelligently analyzes your image and applies optimal adjustments to improve its overall quality. Unlike manual editing, it automatically balances brightness, contrast, color saturation, sharpness, and other parameters to bring out the best in your photo - all with a minimum of clicks.
In the editor sidebar, locate the AI Tools section. Click the Auto Enhance Photo button (note: this button is only enabled when you have an image loaded). This will open the auto enhancement modal.
In the modal, you'll see a preview of your current image. Click the Enhance Photo button to start the AI processing. The AI will automatically analyze your photo and apply intelligent enhancements including brightness optimization, contrast adjustment, color correction, and sharpness enhancement. This typically takes few seconds depending on image size.
Once processing is complete, the enhanced image will automatically be applied to your canvas. You'll notice improved colors, better exposure, enhanced details, and overall more vibrant and professional-looking results. The AI ensures natural-looking enhancements without over-processing.
After auto enhancement, you can still use the standard adjustment tools (Brightness, Contrast, Saturation, etc.) to further customize your image. The auto enhancement provides an excellent starting point, and manual adjustments let you add your personal touch.
Click the Download button in the editor toolbar to save your enhanced image. The image will be saved as PNG format, preserving all the quality improvements made by the AI enhancement.
Add expressive emojis to your photos. Perfect for social media and creative projects.
Enhance photos with our comprehensive sticker library. Stars, frames, bubbles, and more.
Add stylish text, captions, and watermarks to your photos easily.