😊
How to Add Emojis to Photos: Complete Guide
Add expressive emojis to your photos. Perfect for social media and creative projects.
Learn the basics of photo editing and essential tools.
Click the Upload Photo button in the editor or drag and drop your image directly into the editor window. Supported formats include JPG, PNG, WebP, and more. Visit the editor to get started.
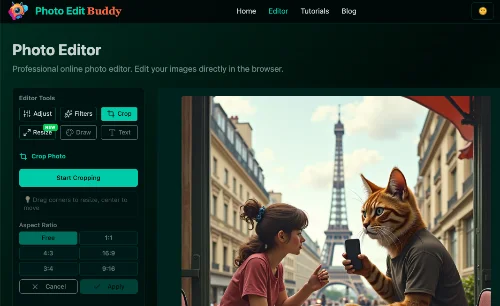
The editor features a toolbar on the left with all editing tools, the canvas in the center displaying your photo, and a properties panel on the right for adjusting settings. Quick access tools are available at the bottom for rapid editing.
Navigate to the Adjust tab to access brightness, contrast, saturation, and other fundamental controls. Use the sliders to make subtle changes. Remember, less is often more in photo editing.
Use the Crop tool by clicking "Start Cropping" to enter crop mode. Select your desired aspect ratio, then adjust the crop area on your image. Confirm your selection to apply the crop. The Resize tool lets you adjust dimensions for different platforms.
Once you're satisfied with your edits, click the "Download" button to save your edited photo. Your image will be downloaded as PNG format, which preserves all the quality of your edits.
Add expressive emojis to your photos. Perfect for social media and creative projects.
Enhance photos with our comprehensive sticker library. Stars, frames, bubbles, and more.
Add stylish text, captions, and watermarks to your photos easily.