😊
How to Add Emojis to Photos: Complete Guide
Add expressive emojis to your photos. Perfect for social media and creative projects.
Professional color grading techniques for stunning photos.
First, upload your photo to the editor. Click the Upload Photo button or drag and drop your image directly into the editor window. Choose a photo with good lighting and interesting colors to work with for color grading.
Color grading is about creating mood and atmosphere. Warm tones (oranges, yellows) create energy and happiness, while cool tones (blues, teals) evoke calmness or melancholy. Complementary colors create visual interest and visual balance.
Open the Adjust tab in the editor. Here you'll find all the color and tone controls needed for professional color grading, including saturation, vibrance, and color temperature adjustments.
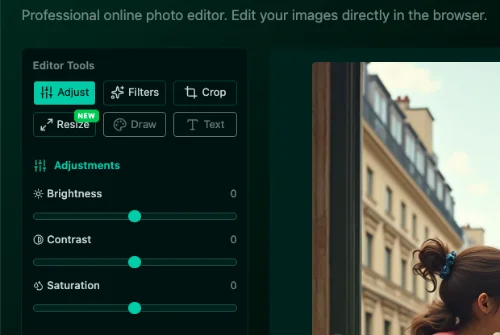
Use the brightness slider to lighten or darken your image, and the contrast slider to increase or decrease the difference between light and dark areas. These adjustments form the foundation of your color grade.
Use the saturation controls to adjust the intensity of colors across your image. Increase saturation for more vibrant colors or decrease it for a more muted, cinematic look. Adjust carefully to maintain natural-looking results.
Explore the Filters tab to apply pre-designed color grades and effects. These filters can serve as starting points for your custom color grading or be used directly for consistent looks.
Once you're satisfied with your color grade, click the "Download" button to save your edited photo. Your image will be downloaded as PNG format, which preserves all the quality of your edits.
Add expressive emojis to your photos. Perfect for social media and creative projects.
Enhance photos with our comprehensive sticker library. Stars, frames, bubbles, and more.
Add stylish text, captions, and watermarks to your photos easily.