😊
How to Add Emojis to Photos: Complete Guide
Add expressive emojis to your photos. Perfect for social media and creative projects.
Master AI-powered background removal for perfect cutouts in seconds.
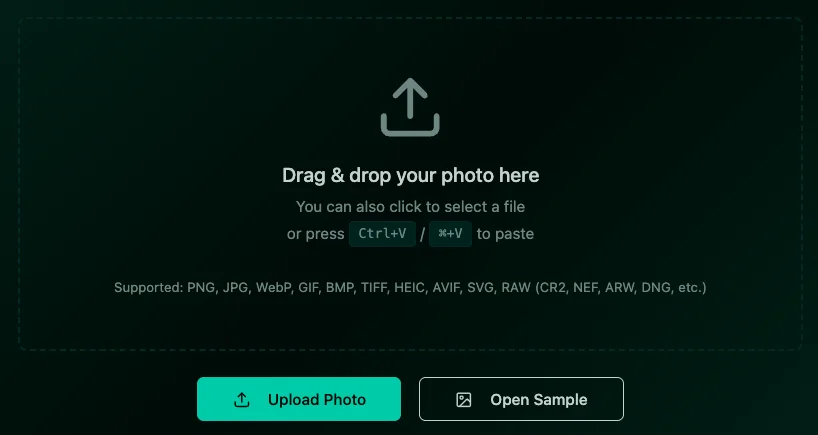
Click the Upload Photo button in the editor or drag and drop your image directly into the editor window. Supported formats include JPG, PNG, WebP, and more. Visit the editor to get started.
For best results, use photos with clear subject-background separation. Good lighting and contrast between the subject and background help the AI work more accurately.
In the editor sidebar, locate the AI Tools section. Click the AI Remove Background button (note: this button is only enabled when you have an image loaded). This will open the background removal modal.
In the modal, you'll see a preview of your current image. Click the Remove Background button to start the AI processing. The AI will automatically detect your subject and remove the background. This typically takes 10-30 seconds depending on image size.
Once processing is complete, the background-removed image will automatically be applied to your canvas. The AI creates clean cutouts with transparent backgrounds. If needed, you can use the standard adjustment tools (Brightness, Contrast, Saturation) to further enhance your image.
Click the Download button in the editor toolbar to save your image. The image will be saved as PNG format, which preserves the transparent background. This format is perfect for use in designs, presentations, or websites where you need a transparent background.
By default, PhotoEditBuddy provides free background removal with 50 API calls per month. If you need more usage, you can add your own WithoutBG API key. In the background removal modal, expand the Token Settings for WithoutBG section to configure your personal API token.
To use your own API key:
Your API token is stored only in your browser's local storage on your computer - it never gets sent to PhotoEditBuddy servers. The token is used directly to authenticate with WithoutBG API. You can clear it anytime by clicking the Clear button in Token Settings. If you uncheck "Save for this browser", the token will only be valid for your current session.
Add expressive emojis to your photos. Perfect for social media and creative projects.
Enhance photos with our comprehensive sticker library. Stars, frames, bubbles, and more.
Add stylish text, captions, and watermarks to your photos easily.